This is part 1 of the raised garden bed article. Check out part 2 – Powerful DIY Guide: Build a Raised Garden Bed with a Hinged Netting Top.
If you’ve ever watched your vegetable garden get decimated by burrowing pests or pecked apart by birds, then you know why building a raised garden bed with protection is a game changer. I’ll walk you through how I built a durable, critter-resistant raised garden bed that’s both simple and effective. Whether you’re a gardening rookie or a seasoned green thumb, this guide gives you a strong foundation to start growing with confidence.
Table of Contents
Why a Raised Garden Bed?
Before diving into the project, let’s talk about why a raised garden bed is worth the effort. It improves drainage, allows you to control soil quality, reduces weed growth, and helps prevent back pain while gardening. Most importantly for me, though—it helps keep unwanted pests out of the vegetables I work so hard to grow.
Gathering Materials and Planning Dimensions
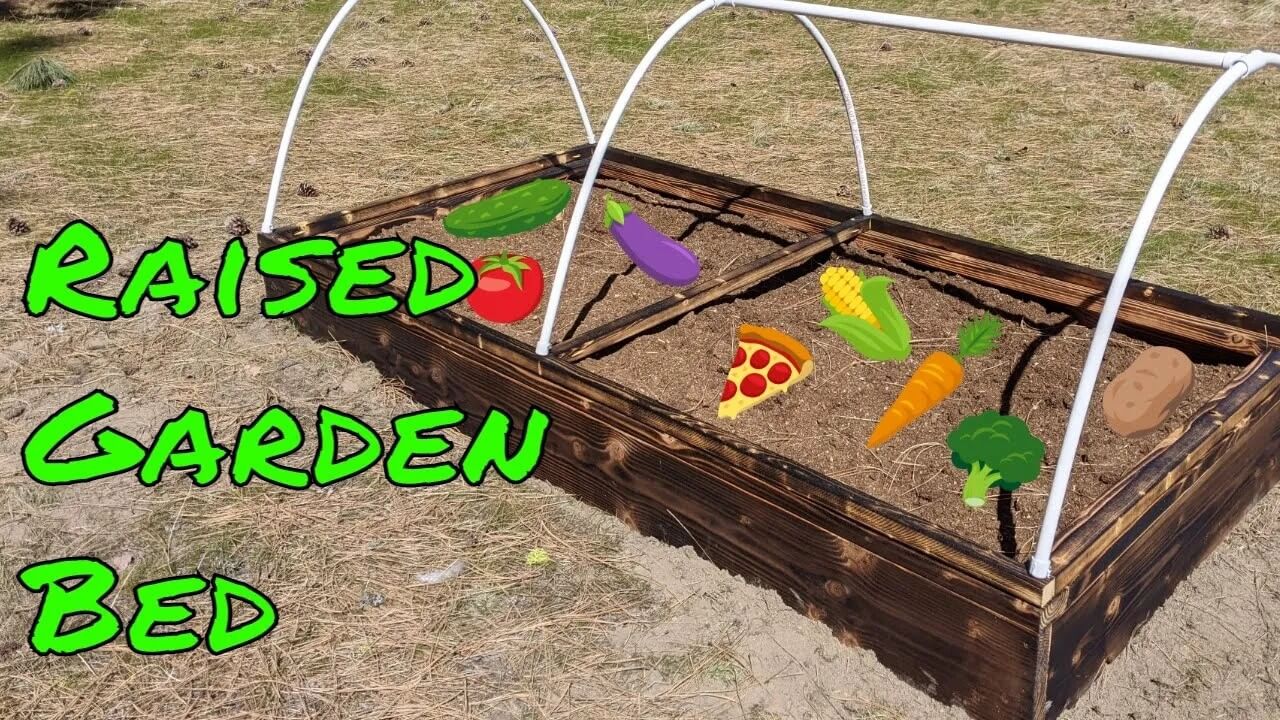
The goal was to build a raised garden bed that measured four feet wide and eight feet long. For the frame, I picked up:
- 2x10s for the main sides
- 2x4s to top the frame and add structure
- 2x2s for internal corner support
- Hardware cloth to line the bottom
- Roofing nails and hog rings for securing the cloth
This design allows plenty of root space while offering strength and support for a screened top later.
Cutting the Lumber to Size
I started by cutting the 2x10s to length. The long sides remained 8 feet, while the shorter sides were trimmed to 45 inches to account for the overlap. Once I had the cuts ready, I began assembling the basic frame by butting the ends together and securing them with screws.
One board had a nasty bow in it, so I laid it down flat, stepped on it, and screwed it into place to help correct the shape. After that, I repeated the process on the opposite side and flipped the entire structure upside down to attach the short ends squarely.
Reinforcing the Frame
With the rectangular box assembled, I cut down some 2x2s and placed them vertically in each corner for additional reinforcement. These small supports go a long way in preventing the frame from warping or shifting over time, especially when it’s full of heavy soil.
Pest Prevention with Hardware Cloth
Before flipping the box upright, I tackled the most important part—securing hardware cloth to the bottom. This wire mesh acts as a barrier against gophers and other tunneling critters. Since my hardware cloth wasn’t wide enough to span the full bottom in one sheet, I used two overlapping strips, then fastened them together with hog rings. Roofing nails held the mesh firmly to the wooden frame.
This step took a little time, but trust me—it’s worth every minute if you’ve ever watched your carrots disappear from below.
Final Assembly and Considerations
Once the mesh was in place, I carefully flipped the raised garden bed right side up. This structure is hefty, so if you’re not building it where you want it to stay, get some help moving it—or better yet, build it directly in your garden space.
To wrap up the base build, I topped the frame with 2×4 rails. These provide a clean edge, additional structure, and a handy ledge for tools or elbows while gardening.
The finished raised garden bed looked fantastic. It’s rock-solid, pest-resistant from below, and ready for soil and seedlings. In the next video, I’ll show how I built a netted top to keep out squirrels and birds—so stay tuned for that part if you’re serious about protecting your crops.
Build a Raised Garden Bed That Lasts
Building this raised garden bed has been one of my most rewarding weekend projects. Not only did it give me a sturdy and safe space to grow vegetables, but it also let me keep the pests at bay without resorting to chemicals or traps. The added hardware cloth base makes all the difference. If you’re planning your own garden upgrade, don’t skip this step.
A well-built raised garden bed isn’t just about better gardening—it’s about fewer frustrations, healthier plants, and a more enjoyable growing season.


