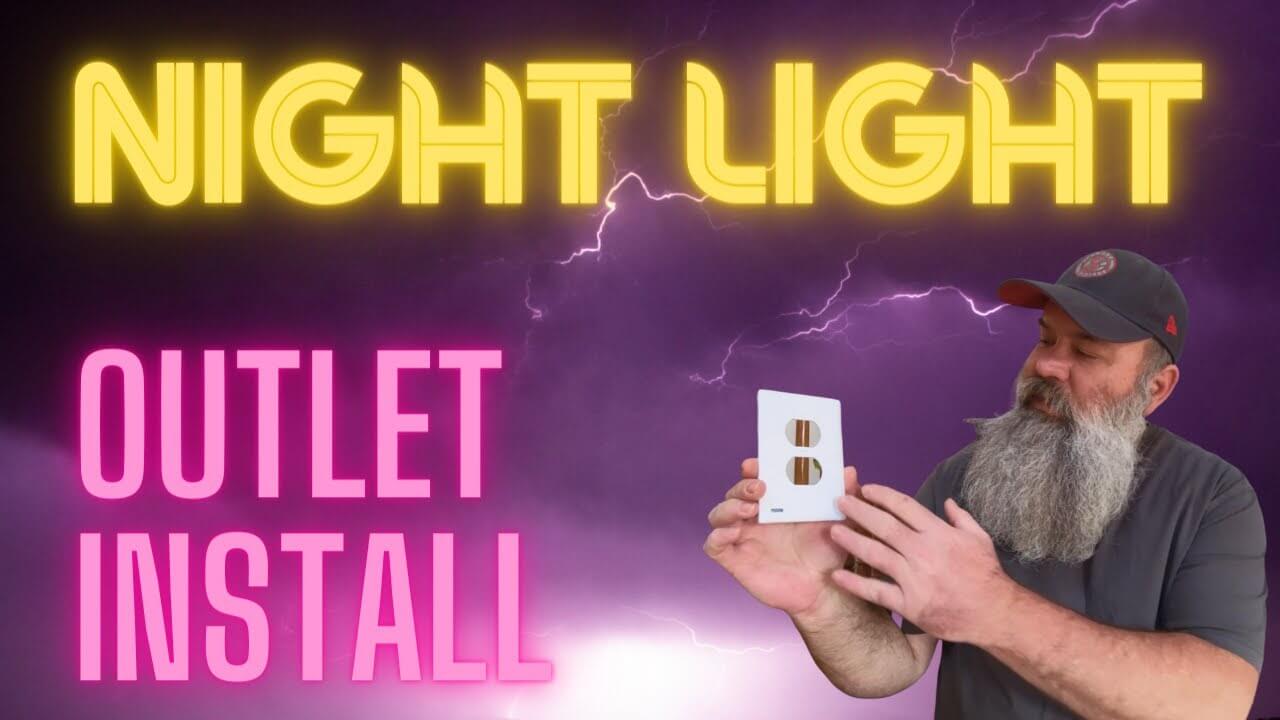
If you’re looking to improve your home’s nighttime safety and convenience, installing a night light outlet is a brilliant upgrade—pun fully intended. Today, I’ll walk you through my personal experience installing a sleek new night light outlet I picked up from Amazon. It adds low-profile lighting that automatically turns on in the dark and off in daylight, and it doesn’t take up either socket. Best of all, it only took one afternoon, a little troubleshooting, and a dash of patience. So if you’re ready to illuminate your life (and hallway), keep reading.
Table of Contents
The Challenge: Out with the Old Outlet
The night light outlet I purchased came as a simple cover plate with a built-in LED light. The bottom of the plate glows softly at night, powered by two prongs that draw energy from the screws on a standard outlet. The idea is smart, subtle, and safe.
However, there was one hiccup: my hallway outlet was over 25 years old and incompatible with the new cover. That meant I needed to replace the outlet itself. No problem—I was ready for a mini electrical adventure.
- EASY INSTALL – You don’t have to be an electrician or magician to install the Guidelight. It was designed for a truly simple, safe solution to the household nightlight. It does not require brackets, batteries, mounts, or wires. Just snap it on and go.
- FREES UP OUTLETS – You can finally use all of the outlets in your house. Don’t let standard, bulky night lights dominate your hallways, bathrooms or children’s bedrooms anymore.
- ENERGY EFFICIENT – The Guidelight cover plate costs less that 10 cents per year to power. With just the right amount of light, you can sleep easy now.
- DUSK TO DAWN – The built-in light sensor can tell when the area is dark, triggering the LED lights to activate. Whether you are in a dark room throughout the day or you need a subtle light at night, The GuideLight 2 has you and your outlet covered.
- SIDE SCREWS REQUIRED – Before purchase, remove your current outlet cover and visually check if your Duplex outlet has screws on the side. Most outlets in the US and Canada are this way, but we encourage you to check just in case your outlet is not compatible.
Last update on 2025-08-08 / Affiliate links / Images from Amazon Product Advertising API
Installation
Working with electricity can cause personal injury or death. If you don’t know how to work with electricity, hire a professional electrician to complete any electrical work.
Step One: Kill the Power (Safely!)
First things first—turning off the power. If you take one piece of advice from this article, it’s this: never do electrical work with live power. To identify the correct circuit, I used my Klein circuit breaker finder. You plug the transmitter into the outlet, scan your breaker box with the receiver, and boom—identified the right breaker. Off it went, and the hallway fell into a spooky (but safe) darkness.
I double-checked with my handy outlet tester to confirm there was no current flowing. Only then did I proceed.
Step Two: Removing the Old Outlet
With the cover plate and mounting screws removed, I pulled out the old outlet and got a surprise—eight wires were connected to this thing. Not the usual four I expected. These older outlets were wired for an entire chunk of the house. So instead of installing the new outlet directly, I had to create pigtails. That meant combining wires using short segments of Romex (which is like gold these days) to simplify the connection.
Pro tip: If your outlet looks more like spaghetti than wiring, this is when you might want to call in a licensed electrician.
Step Three: Installing the New Night Light Outlet
After wrangling the wires and connecting the hot and neutral lines to the correct terminals (yes, polarity matters!), I twisted them carefully and secured them under the appropriate screws. Since the wires I used were a bit thicker than standard, I couldn’t use the push-in ports and had to rely on the side lugs.
Then came the fiddly part: folding the wires back into the wall box neatly. It’s a bit like trying to pack a sleeping bag back into its original sack—it never wants to fit just right. But with a bit of patience and persuasion, everything settled in place.
Step Four: Attach the Night Light Plate
Here’s where the night light outlet really shines. I positioned the cover so the light faced downward and screwed it into place. The LED strip integrated at the bottom is subtle but effective. The screws don’t need to be super tight—just enough to hold it in place without cracking the plastic.
Once the cover was on, I flipped the breaker back on and—voilà!—my hallway now had a soft, hands-free glow. The night light activated automatically thanks to the built-in light sensor.
Why Install a Night Light Outlet?
There are plenty of reasons to love a night light outlet. First, it enhances nighttime visibility without sacrificing outlet space. Second, it improves safety by eliminating the need for loose plug-in night lights that can fall out or break. Third, it’s energy-efficient and designed to operate only in the dark.
And let’s be honest—it just looks good. It adds a polished, modern touch to an otherwise ordinary space.
Brighten Up with a Night Light Outlet Today
Installing a night light outlet is one of those small home improvements that packs a big punch. Not only does it look sleek, but it also increases your home’s safety and comfort during the night. If you’re tired of fumbling in the dark or tripping over misplaced night lights, consider making the switch. Just make sure to turn off your power, take your time, and be safe.
Whether you’re a seasoned DIYer or a weekend warrior, this is a project that’s well within reach—and totally worth it. Ready to brighten up your hallway, bathroom, or nursery? A night light outlet might just be your next favorite home upgrade.


![Single - SnapPower GuideLight 2 [For Duplex Outlets] - Replaces Plug-In Night Light - Electrical Receptacle Wall Plate With LED Night Lights - Auto On/Off Sensor - (Duplex, White)](https://m.media-amazon.com/images/I/31Cr0vHcjHL._SL160_.jpg)


