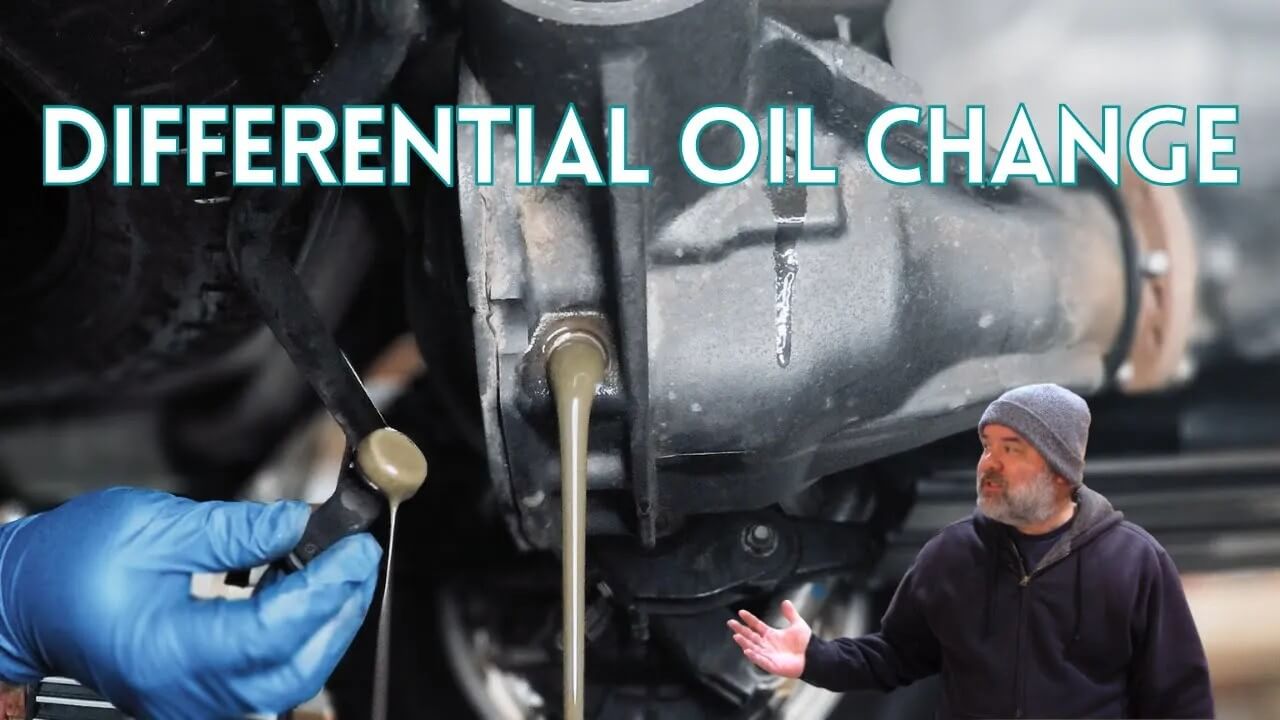
When it comes to vehicle maintenance, few things offer as much long-term value as a proper differential oil change. Today, I’m diving under my 2019 Ram 1500 and walking you through exactly how I changed both the front and rear differential fluid. It’s not the flashiest job—especially in 13-degree weather—but it’s a vital one that helps extend the life of your drivetrain and keep things running smoothly.
Table of Contents
Front Differential
I began with the front differential oil change. First things first, I had to remove the skid plate using a 5/8 socket. This gave me access to the drain and fill plugs. Both plugs on the front diff require an 8mm hex bit socket. I strongly recommend loosening and removing the fill plug first—just in case it refuses to budge later. There’s nothing worse than draining the oil only to discover you can’t fill it back up.
Once I had the fill plug out, I moved on to the drain plug. With a drain pan in place, I removed the plug and let the fluid drain out completely.
Adding a Little Insurance with Sealant
Although the front differential plugs are designed not to leak, I applied a high-temperature thread sealant for peace of mind. I’ve linked the sealant and all the tools I used for anyone looking to tackle this differential oil change job.
- Made for the most demanding professionals, each of our bit sockets is made from custom forged premium steel that underwent proprietary heat treatment and precisely machined to perform in toughest situations
- Premium S2 steel forged bits are exceptionally strong and durable. These S2 steel bits withstand high torque and do not twist, protecting both the bit and the fastener
- Chamfered end to ensure a smooth fit onto fasteners
- Premium Chrome Vanadium steel sockets plated with our SmartKrome protective plating are durable and corrosion resistant
- Single 3/8 in. drive, 8 mm hex bit socket
- CR-MO alloy steel for long life
- Lifetime warranty
- 1/2-Inch drive
- 14mm hex driver impact socket
- Sunex give you the power to make an impact on stubborn fasteners
- Locks and seals threaded fittings
- Resists leakage, vibration loosening, moisture, hydraulic fluids and diesel fuels
- Lubricates threads for easy assembly and disassembly
- Parts may be repositioned up to 4 hours after application
- Suggested Applications: head bolts into through holes, oil PSI sending units and sensors, oil and coolant lines, fuel fittings, rear axle fill plug, brake and power steering fittings
Last update on 2025-08-27 / Affiliate links / Images from Amazon Product Advertising API
Filling the Front Differential
For the front, I used AMSOIL Severe Gear 75W-90, which came highly recommended. This was my first time using AMSOIL, and I was impressed by how smoothly it went in. The front diff on this Ram takes just over one quart. I filled it until the oil began to seep out of the fill hole and waited for it to slow to a drip before reinstalling the plug.
With the fluid topped off, I reattached the skid plate, and just like that, the front was done.
Rear Differential: A Similar Process with a Few Tweaks
The rear differential oil change followed the same basic steps, but without a skid plate to remove. I started again by removing the fill plug using an 8mm hex socket. Then I tackled the drain plug, which required a larger 14mm hex socket. This plug was stubborn, but with a bit of penetrating oil and a larger wrench, I finally got it loose.
Once drained, I cleaned the area and applied thread sealant to the plugs. This time, however, it was essential to apply the sealant correctly: three-quarters of the way around the plug, avoiding the first thread. This helps ensure a tight seal without contaminating the fluid.
Choosing the Right Fluid
My Ram 1500 has a 3.92 gear set, so I used AMSOIL 75W-140 gear oil in the rear. Since my differential is electronically controlled and not a limited-slip unit, I didn’t need to add any friction modifier. If your vehicle does have a limited-slip diff, make sure to buy the modifier separately—this is non-negotiable for proper performance.
The rear differential took just under three quarts. I followed the same method as before: fill until the fluid starts flowing out, wait for it to trickle to a stream, then replace the plug.
Wrapping Up This Crucial Job
Changing the differential oil might not seem like a glamorous task, but it’s essential. By doing this job myself, I saved money, learned more about my truck, and ensured it stays in top shape for years to come. Plus, I now know that AMSOIL gear oil holds up even when it’s nearly freezing outside.
If you’re considering a differential oil change, don’t put it off. It’s a straightforward job with big benefits, especially for trucks like the Ram 1500 that see regular use and heavy loads.
Final Thoughts on the Differential Oil Change
Whether you’re a weekend wrench-turner or just looking to avoid expensive shop visits, learning how to perform a differential oil change is a valuable skill. This maintenance project may seem intimidating at first, but with the right tools, the right fluids, and a bit of patience, anyone can do it—yes, even in 13-degree weather.


