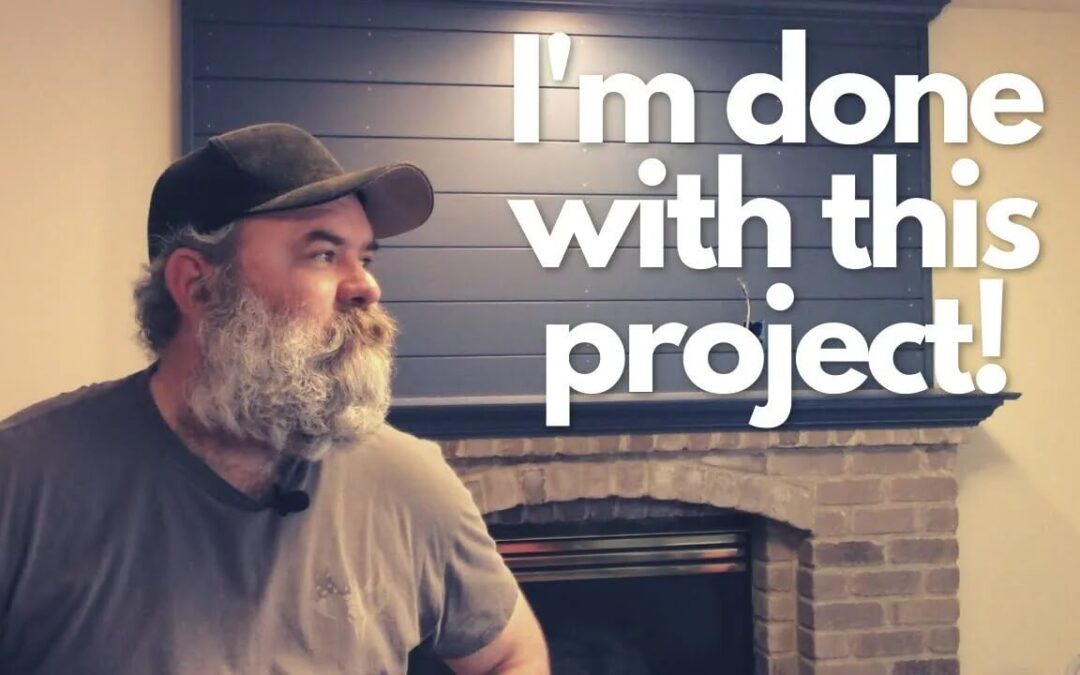
If you’re looking for a simple, cost-effective solution to dry your laundry outdoors, you’re in luck. Today, I’m going to walk you through exactly how I built a clothesline using scrap materials, a bit of concrete, and some creativity—all for less than twenty bucks. Whether you’re battling summer heat or just want to lower your energy bill, a DIY clothesline can be a game-changer. Plus, it’s a fun and satisfying weekend project that anyone can tackle.
Table of Contents
Starting With What I Had
I began with what was already on hand. I had a 5-gallon bucket and a slightly warped 4×4 post. Now, this post wasn’t perfect—definitely a little bendy in both directions—but lumber isn’t cheap these days, so I figured, “Why not?” I also picked up some clothesline rope, a couple of new eye hooks, and relied on some leftover 1x2s I had lying around the shop. Altogether, the project cost me under $20. The goal wasn’t perfection—it was functionality on a budget.
Setting the Foundation
To anchor the post, I used a classic fence-setting method, with a twist. Instead of digging a hole, I poured the concrete directly into the bucket. I added water a little at a time and mixed it slowly with a makeshift paddle—okay, a piece of scrap wood—and let gravity do most of the work. The post wobbled less than I expected once it was plumbed and braced while the concrete set.
And let me tell you, mixing concrete in 100+ degree heat adds a whole new level of intensity to DIY projects. Still, the concrete hardened quickly thanks to the scorching sun, and in no time, I was ready to move on to the fun part.
Building the Crossarms
With the post solidly in place, it was time to make the top structure for the clothesline. I took a couple of 1x2s and drilled quarter-inch holes in both ends. These would support the actual clothesline rope. I leveled them as best I could atop the slightly wonky post and screwed them into place.
Let’s be honest—this wasn’t going to win any beauty contests. But again, I wasn’t after fancy. I wanted something that would work, would last a season or two, and didn’t require a trip to a specialty store or the sacrifice of my weekend plans.
Stringing the Line
Once the top was secured, I grabbed the clothesline rope. I knotted one end and fed it through the holes I’d drilled, pulling it taut and securing the other end with hog rings. These are super handy for tightening up the line and making sure it doesn’t sag once you hang up those heavy jeans or towels.
After cutting off the excess rope, I stepped back and admired my handiwork. It wasn’t flawless, but it was sturdy. It was built from materials I had lying around. And best of all, it was ready to do its job.
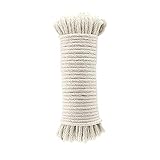
- Braided cotton with synthetic core: solid jacket braided vs. twisted for added strength; durable, low-stretch synthetic core
- Resilient: suitable for use indoors and out; resists abrasion, and UV light
- Multi-purpose: ideal for use as a clothesline, a window sash cord, arts and crafts, DIY projects, and more
- Color: natural-cotton, off-white hue; can be easily dyed to any desired color
- Dimensions: measures 3/16 inch in diameter by 50 feet long (4.5mm by 15m)
Last update on 2025-08-29 / Affiliate links / Images from Amazon Product Advertising API
Why I Built This Clothesline
Now, you might be wondering why I didn’t just buy a pre-made clothesline. The answer’s simple: it’s about practicality. Spending a couple hundred bucks on a store-bought unit didn’t make sense for me. I had enough materials to make something functional, and I only needed to spend a little extra to complete it. This clothesline might not last forever, but it’ll definitely make it through a few seasons.
In the end, this project was about using what I had, spending as little money as possible, and solving a real problem—without compromising too much on quality. For anyone looking to take on a similar challenge, I say go for it. You’ll save money, learn a thing or two, and walk away with a sense of accomplishment every time you hang up a fresh load of laundry.
Clothesline Conclusion: A Powerful DIY Win
Building a clothesline from scratch might sound like a rustic throwback, but it’s a practical and rewarding solution for any home. With minimal tools, a few materials, and a dash of determination, you can create a reliable clothesline that serves your household and saves you money. Whether you’re a DIY veteran or just testing the waters, a homemade clothesline is an excellent project to dip your toes into sustainable living—and feel good about it. Now get out there and let that laundry dance in the breeze!