Today, I’m wrapping up an exciting home renovation series with the final day of our stunning brick fireplace makeover. If you’ve been following along, you know we’ve taken a dated 1990s fireplace and turned it into a modern focal point. This project has combined practical DIY skills with serious aesthetic upgrades—and on day three, I brought it all together by finishing the framing, installing the mantel, applying the shiplap, and capping it off with elegant crown molding.
If you’re thinking about your own brick fireplace makeover, you’re in the right place. I’ll walk you through the final steps of the transformation, offer some helpful tips, and share the tools I used to make it happen—all from a DIYer’s perspective.
Table of Contents
Framing Up the Ship Lap: Structural Simplicity
I kicked off the day by focusing on framing for the shiplap. This part was essential for giving the fireplace structure and support. Using my trusty Porter-Cable palm nailer—a tool I’ve had for years—I quickly realized you don’t need to invest in a full-blown framing nailer to get the job done. If you’re on a budget or working in a tight space, a palm nailer works beautifully.
With the framing around the existing brick complete, I also boxed in the cavity above the fireplace. This helped create a clean area to nail the exterior trim boards and gave the project a polished foundation for what came next.
Mantel Installation: Secure and Stylish
Once the framing was in place, I moved on to installing the mantel. This was a critical step because the rest of the decorative features—including the shiplap—depend on the mantel being level and secure. Using glue and finishing nails, I mounted it to the brick supports we installed earlier in the series.
If you’re doing your own brick fireplace makeover, take your time here. A well-installed mantel provides a visual anchor and supports any artwork or décor you add later.
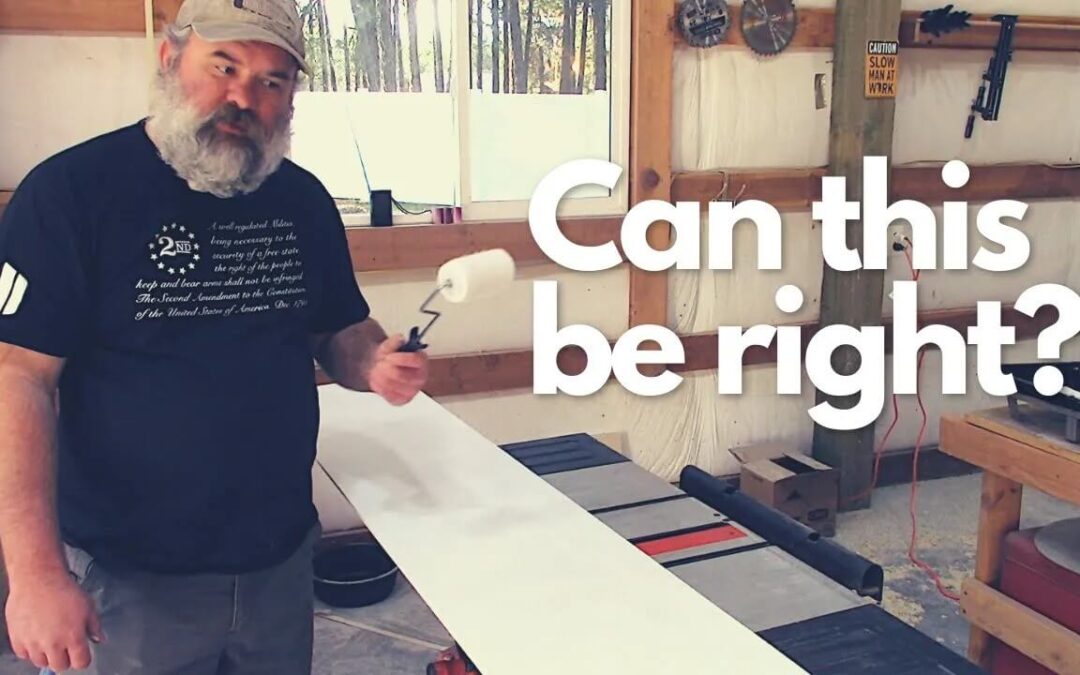
Installing the Shiplap: Clean Lines and Character
Next came the fun part—adding the shiplap! I started at the bottom and worked my way up. Since I wanted even spacing and consistent cuts, I had to measure carefully and trim the bottom piece to accommodate height discrepancies.
I also tackled a common challenge: cutting around electrical outlets. While I did that part off-camera, the key is using a jigsaw and a good measuring tape. Once I had the socket cutout done, it was just a matter of nailing each piece in place and stepping back to admire the progress.

- METABO HPT FINISH NAILER: The 15 Gauge 2-1/2″ Angled Finish Nailer (NT65MA4) is the ideal power nailer for installing crown and base moldings, window & door casings, chair rails, cabinets, exterior trim and staircases. This power tool is the perfect partner for professionals and DIY enthusiasts.
- ACCEPTS: 15-gauge angled DA nails from 1-1/4″ up to 2-1/2″ in length
- LIGHTWEIGHT AND MANEUVERABLE FINISH NAILER: At only 4.2lbs, the Metabo HPT finish nailer is particularly lightweight and well balanced. This power nailer minimizes user fatigue, while increasing maneuverability, making this Metabo HPT tool perfect for extended periods of use on renovation work.
- SELECTIVE ACTUATION SWITCH: The Metabo HPT finish nailer can be easily switched between sequential and contact nailing with a simple flip of a switch. This power nailer also has a tool-less depth adjuster, which allows for flush fastening into varying materials, providing improved control and a professional finish. This power tool is a valuable addition to any toolkit.
- 360 DEGREE EXHAUST PORT: This Metabo HPT tool has a 360 degree fully adjustable exhaust port which directs the air exhaust away from the user or workpiece.
Last update on 2025-09-03 / Affiliate links / Images from Amazon Product Advertising API
Crown Molding and Trim: The Finishing Touch
After the shiplap came the crown molding. This detail elevates the entire brick fireplace makeover by adding elegance and a finished appearance. I measured the corners, made my miter cuts, and nailed everything into place with precision.
With the crown molding secured, I added the final corner trim pieces. These not only hide any imperfections where materials meet but also give the project a professional, seamless look.
Final Touches: Paint, Fill, and Reveal
The last step was all about polish—setting the nails, filling the holes, and touching up the paint. I also connected the electrical socket to complete the job.
After three days of steady work, I stood back and admired a transformation that turned a dated brick fireplace into a stunning, modern centerpiece. Whether you’re a seasoned DIYer or just getting started, this brick fireplace makeover shows what’s possible with patience, a vision, and a few reliable tools.
Brick Fireplace Makeover That Packs a Punch
This powerful brick fireplace makeover proves you don’t need to hire a contractor to transform a room. With basic tools, smart planning, and a commitment to detail, you can breathe new life into tired features. From framing and shiplap to crown molding and trim, each step adds character and value to your space.
If you missed the first two parts of this project, I’ve linked them below so you can catch up. Thanks for following along, and I hope this inspires your own bold and beautiful brick fireplace makeover.
Ultimate Brick Fireplace Makeover Part 1: A Bold Start to a Stunning Transformation
Ultimate Brick Fireplace Makeover Part 2: How I Transformed Our Living Room Focal Point