Today, I’m diving into day two of our brick fireplace makeover—a transformation that’s turning our outdated eyesore into a stunning showpiece. If you’ve got an old brick fireplace that’s dragging your living room back to the ‘90s, this step-by-step breakdown will give you inspiration, tips, and a little motivation to roll up your sleeves and start your own project.
This phase focused on fitting the mantel, mounting the crown molding, and tackling all the painting prep. And let me tell you—while it might look like a simple paint-and-nail job, there’s plenty of behind-the-scenes craftsmanship involved in a successful brick fireplace makeover.
Table of Contents
Installing the Mantel: Shims, Strips, and Liquid Nails
Before I could even think about nailing in shiplap, I had to get the mantel into position. That meant attaching mounting strips directly onto the brick using Liquid Nails. I used shims to lift the mantel into the exact height I wanted and carefully glued the strips in place. Because the framing for the shiplap will rest on top of the mantel, precision mattered.
To deal with a slight sag in the brickwork, I applied a little extra epoxy to the center area. It wasn’t severe, but I didn’t want the mantel drooping down the line. Once everything was secure, I placed the mantel—still drying a bit, but stable enough to work with.
Custom Crown Molding with a Twist
Now, let’s talk about the crown molding. I wanted the mantel to look finished and polished, so I added crown molding that would drop over the brick edge. First, I scribed a line to guide my cuts. Then, back in the shop, I glued up the crown molding, miters and all.
For the miters, I used CA glue—super effective, and it held the corners tight. I didn’t film that part because honestly, cutting those corners is a craft in itself. But once everything dried, I nailed the molding onto the bottom edge of the mantel and prepped it for paint.
If you’re doing your own brick fireplace makeover, don’t overlook the value of custom molding. It instantly elevates your work from “weekend DIY” to “magazine-worthy.”
Prepping for Paint: Primer, Bondo, and a Game-Changing Tool
Out in the shop, I noticed some low spots on the Poplar mantel. I used Bondo to level it out—it filled the gaps like a charm and sanded smooth for a flawless finish. Once that cured, I laid down a light coat of primer.
While that dried, I turned my attention to the shiplap boards. They came pre-painted, but I wanted them to hold the final color better. A liquid deglosser helped the new paint adhere properly. I still applied a thin coat of primer—insurance for even coverage.
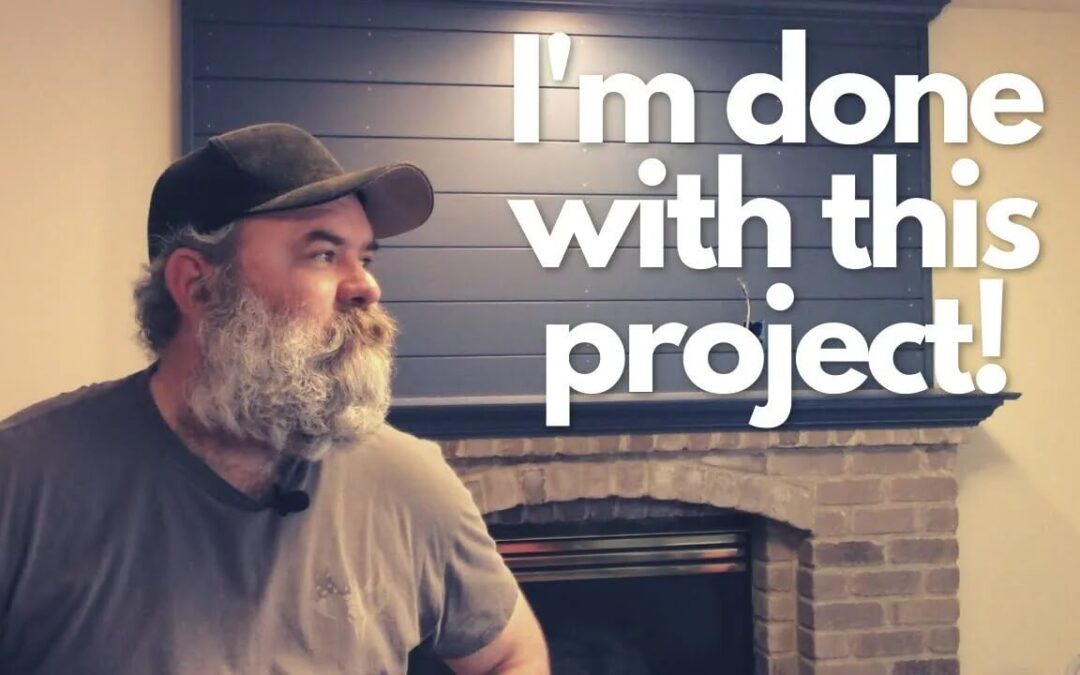
Then came the fun part: color! I chose Van Deusen Blue by Benjamin Moore. It’s bold, elegant, and just moody enough to create a dramatic contrast against white trim.
And let me tell you about my secret weapon—my old Paint Mate. It mixes the paint and pours cleanly without a mess. This thing is a total lifesaver for anyone tired of scraping dried paint off rims or ruining brushes during cleanup. Seriously, it makes painting enjoyable.

- 1 Gallon Size Paint Can Mixing Lid and Pouring Spout. The mixing lid fits any round standard-gallon paint, stain, or varnish cans.
- The paint mixing lid is constructed of non-metal components, making it completely compatible with water-borne finishes, latex paints, and solvent-based finishes
- The lid has tool-free cam clamps to anchor the paint mixing lid to a paint canister securely; twist the clamps to secure. The lid gasket ensures a tight, leak-proof seal to the paint can
- The auger-shaped paddle lifts and mixes solids and pigments that have settled on the bottom of the canister, providing a thoroughly mixed-together coating. The ergonomic pistol grip handle makes pouring paint easy
- The mixing lid can be stirred with a hand crank, drill, or paint mixing machine. A mess-free pouring lid that provides drip-free action
Last update on 2025-08-29 / Affiliate links / Images from Amazon Product Advertising API
Painting the Mantel and Beyond
With everything primed, I laid down the first coat of Van Dusen Blue on the mantel and shiplap. The coverage looked fantastic right out of the gate. I’ll go back with a second coat tomorrow, but we’re finally seeing the vision come together.
If you’re following along at home, remember this: preparation is everything. Don’t rush through shimming or skip the primer. Each of those steps contributes to a longer-lasting and more polished result. That’s what separates a basic paint job from a brilliant brick fireplace makeover.
This Brick Fireplace Makeover Is Just Getting Started
That wraps up day two of our brick fireplace makeover. I’ve got the mantel installed, the crown molding finished, and the first coat of paint on everything. Up next: final assembly, shiplap installation, and putting all the pieces together.
This project has already brought new life into our living room, and I can’t wait to reveal the finished look. If you’ve got a tired brick fireplace, don’t settle for hiding it behind decor. Transform it into something stunning. A well-done brick fireplace makeover can completely redefine your space—and if I can do it, so can you.
Stay tuned for part 3 of the series, where we bring everything together.
Ultimate Brick Fireplace Makeover Part 3: A Powerful DIY Transformation