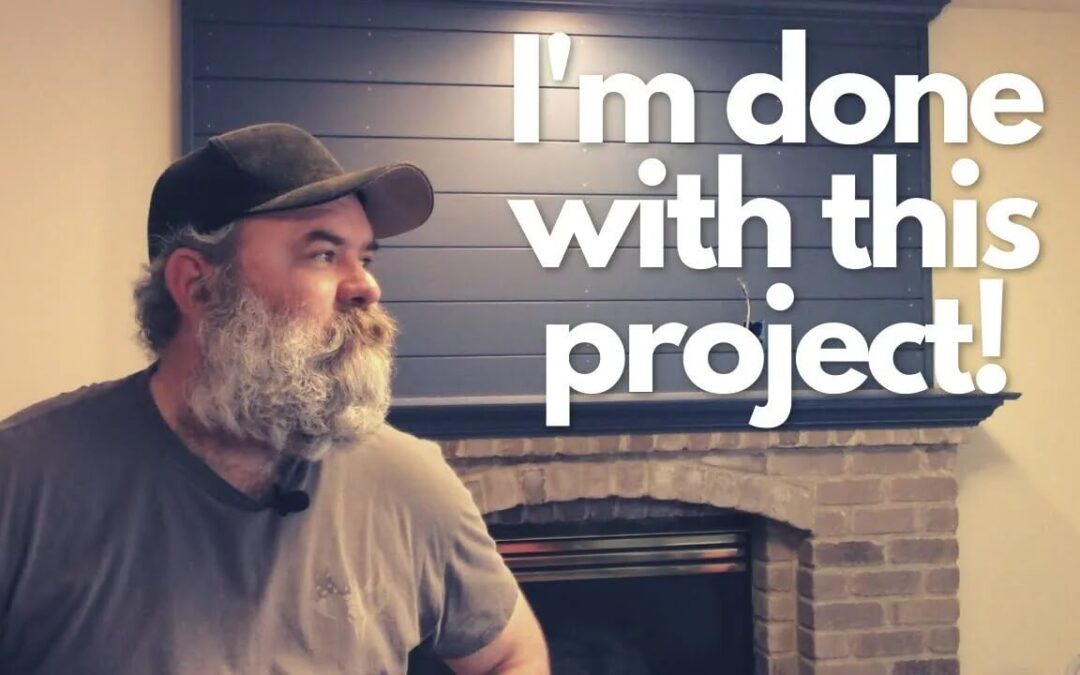
Today kicks off the exciting beginning of a bold and dusty adventure—our ultimate brick fireplace makeover. After living in this home for about three years, the time has come to address the architectural eye sore that has haunted our living room since the Clinton administration: the dreaded “90s hole.”
You know the one—it’s that awkward, brick-clad cavern above the fireplace, once meant to house a 900-pound tube television. Yes, those relics from a prehistoric era where channel surfing involved physical buttons. Well, that hole’s days are numbered. The plan? A full-on brick fireplace makeover, starting with demolition and heading toward a modern, ship-lapped showpiece complete with a fresh mantel and updated framing.
Let’s dive into the dusty details of day one.
Table of Contents
Confronting the “90s Hole” Head-On
So, what exactly is this “90s hole”? If you’re too young to remember, back in the dark ages of home design, builders thought it was a great idea to leave a giant rectangular void above the fireplace to accommodate rear-projection TVs. Unfortunately, these holes now serve no purpose other than collecting dust and confusing anyone under 30. My wife—lovingly dubbed “The Boss”—has finally had enough. It’s makeover time.
This brick fireplace makeover starts with a vision: remove the outdated upper bricks, fill in the hole, and bring the whole look into the 21st century with a clean, modern design.
Let the Demolition Begin
With demo hammer in hand, I started the satisfying but exhausting process of removing the top layer of bricks. The demo wasn’t subtle—it was loud, dusty, and oddly cathartic. Years of brick and mortar gave way to progress as chunks fell, revealing what would soon become a blank canvas.
Now, I won’t sugarcoat it: demolition is brutal. My arms are jelly, my clothes are caked in brick dust, and my sinuses may never forgive me. But hey, that’s the price of transformation! This stage of the brick fireplace makeover isn’t glamorous, but it’s crucial.
Pro tip: If you’re taking on a similar project, suit up like you’re heading into a sandstorm—goggles, gloves, dust mask, the works. Brick dust gets everywhere.

- 【AVAILABLE MODE】The ENDH45 demolition jack hammer only has hammer-only function and chisel position adjustment function
- 【SAY GOODBYE TO BULKY MACHINES】At just 12.8 lbs, this lightweight demolition jack hammer is easy to control and handle. It’s equipped with an 11Amp industrial motor and a heat-resistant copper wire motor, delivering 4100BPM, 11.6ft/lbs(15.7 Joule) of concrete-breaking power. Perfect for medium-duty work projects, this powerful tool is designed to enhance convenience and efficiency
- 【THOUGHTFUL HUMANIZED DESIGN】With an anti-scald front housing, 0845MB jack hammer is designed to protect the user from potential burns. And the 360° adjustable handle is designed for both horizontal and vertical demolitions. The upgraded anti-vibration system and PU soft grip significantly reduce fatigue, while the aluminum alloy shell ensures durability and resilience, even if accidentally dropped
- 【HIGH-EFFICIENCY DESIGN】The SDS-MAX chuck enhances your work efficiency. It’s designed for easy chisel changes without the need for extra tools, meanwhile a thick clamping section locks the chisel securely for a more precise and powerful transfer of energy. ENDH45 demo hammer also equipped with a self-lock button for continuous operation, you can effortlessly carry out long tasks without having to hold down the power switch all the time, making this an efficient concrete breaker
- 【PRACTICAL & WIDE APPLICATIONS】This ENDH45 demo hammer is ideal for a variety of medium-duty tasks including demolition, chipping, trenching, breaking concrete, blocks, bricks, tiles, stucco, and more. Perfect for housing foundation removal, tile removal, mechanical installation, demolishing brickwork, interior decoration, concrete slabs, oil chimneys, and plumbing tasks
Last update on 2025-09-01 / Affiliate links / Images from Amazon Product Advertising API
Wrapping Up the Demo Phase
After hours of hammering, lifting, and minor cursing, the upper bricks were finally gone. The fireplace looked different already—less like a monument to 1996, and more like a promising blank slate.
The living room, however, looked like a brick bomb went off.
Cleanup was the final task of the day. I vacuumed, swept, and tried to scrub the film of dust off everything, including myself. After that, I hit the showers and called it a day.
And just like that, phase one of the brick fireplace makeover was in the books.
What’s Next: From Hole to Home Feature
In the next article, I’ll frame up the new wall and add shiplap for a clean, farmhouse-modern vibe. We’ll also craft a custom mantel that will tie everything together and become the new focal point of the room. The goal is to turn the outdated fireplace into a feature that actually adds value and style to the home—not just a reminder of old tech and dated design choices.
This project is more than just a brick fireplace makeover—it’s a lesson in taking charge of your home’s personality and making your space reflect your taste, not your home’s birth year.
Brick Fireplace Makeover Begins With Boldness
And there you have it—the beginning of our brick fireplace makeover. With the bricks removed and the “90s hole” ready for reinvention, we’re on our way to creating a fireplace worth showing off. This is the kind of transformation that not only elevates your living space but also makes you wonder why you didn’t do it years ago.
If you’ve got a dusty, outdated fireplace haunting your home, let this be your sign—it’s time for your own brick fireplace makeover. Trust me, once you get past the rubble, there’s beauty waiting to be uncovered.
Stay tuned for part two, where we break out the framing tools and start bringing this design to life. Until then, grab a shop vac, find your demo hammer, and start dreaming about your own living room revival.
Ultimate Brick Fireplace Makeover Part 2: How I Transformed Our Living Room Focal Point